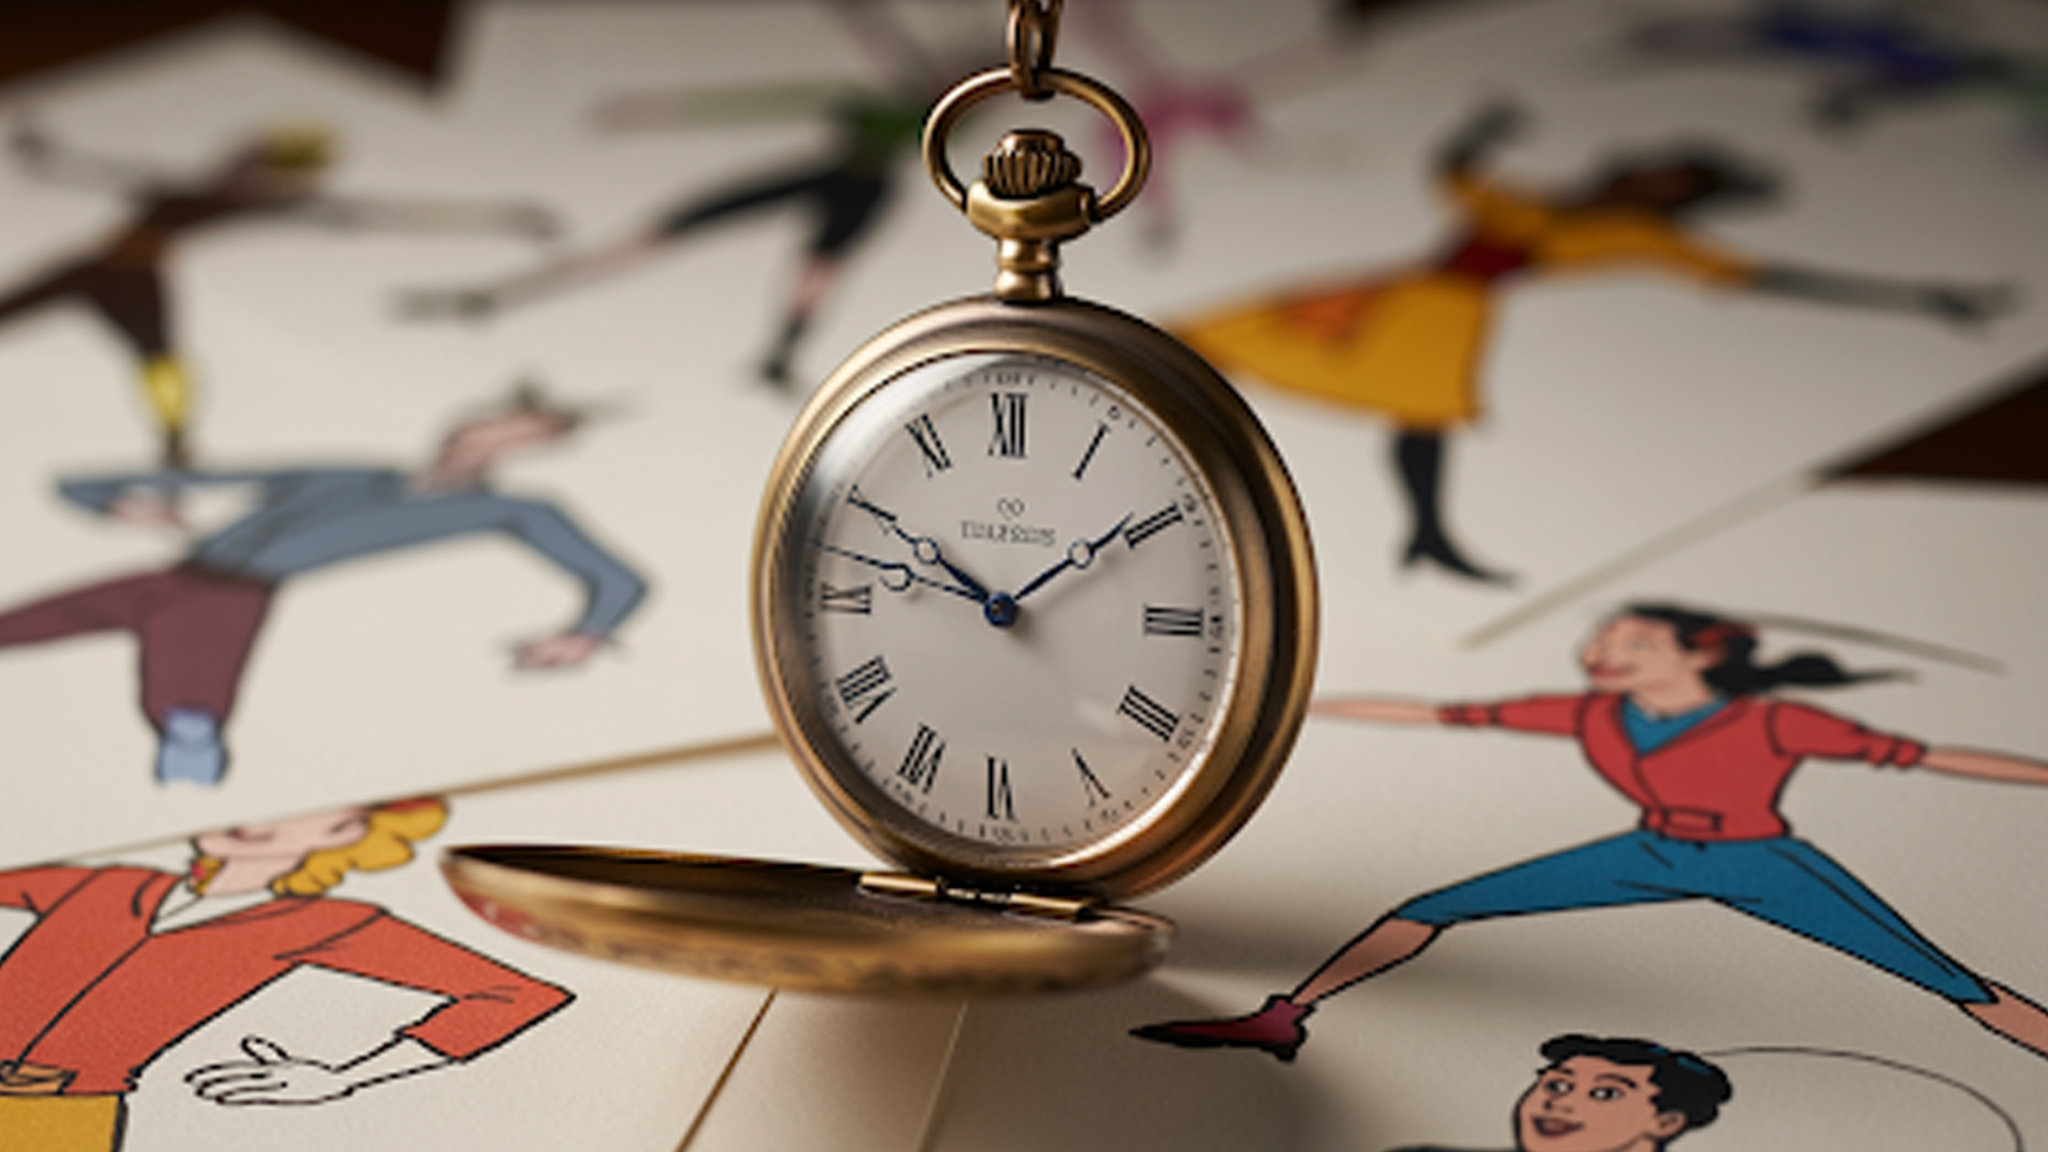
Timing in animation is the deliberate control of how long actions take. It sets the pace, rhythm, and perceived weight of every movement. Frame counts determine when an action starts, peaks, and resolves, so the audience reads intent immediately. Strong timing makes performances clear, jokes land, and dramatic beats breathe.
In this guide, you’ll learn how to plan timing with beats and frame budgets, choose the right fps for your project, decide when to work on ones vs. twos, and align actions to sound for maximum clarity. You’ll also get practical workflows, common timing ranges, and quick exercises that turn raw motion into readable, memorable moments among all types of video animation.
What Is Timing in Animation?
Timing is the duration of actions; spacing is how positions change between frames. Used together, they create rhythm, sell weight, and make performance readable. If you want a quick timing animation definition: timing is the frame count that controls how fast or slow an action plays, while spacing controls the distribution of movement inside that duration. This pairing sits at the heart of the timing animation principle within the 12 Principles of Animation and underpins every good shot across 2D animation, 3D animation, Motion graphics, and full-scale Video Animation.
Why Timing and Spacing Matter for Story and Brand
Well-judged timing makes characters feel alive, props feel heavy or light, and gags or dramatic beats land cleanly. It also guides the viewer’s eye so they notice the right thing at the right moment. For brands, strong timing sharpens message delivery and boosts retention, helping audiences understand more, faster, and remember it longer.
Difference Between Timing and Spacing
Before we dive into the process, it helps to see timing and spacing side by side. Use the table below to clarify what each controls, when to change it, and the effect on the shot.
| Aspect | Timing | Spacing |
| Definition | Number of frames an action takes. | Distance traveled per frame. |
| When to change | To speed up or slow down the whole move. | To change feel without changing duration. |
| Effect on motion | Sets overall pace and rhythm. | Makes motion snappy, floaty, heavy, or light. |
| Practical workflow | Set during blocking to define beats. | Refine in Polish to add texture, inertia, and personality. |
How to Plan Timing Before You Animate
Locking timing decisions early prevents costly rework later. Use this planning checklist before you touch poses so every action reads cleanly and aligns with sound.
- Define story beats. Write down each action and emotion.
- Mark audio events. Add beat markers for dialogue, SFX, and music accents.
- Choose frame rate. 24 fps for filmic feel; 30 fps for mixed media or UI stay consistent.
- Budget frames. Assign ranges per action (e.g., head turn 10–16 frames, blink 8–12, quick reach 6–10).
- Decide exposure. Animate on 2s for readable blocking; switch to 1s for fast actions or delicate details.
- Record reference. Count frames with a timer app, then translate to keys and breakdowns.
What Tools Improve Timing Quickly
A few simple tools make timing choices faster and more reliable. Start with structure, then move to finesse once beats are working.
- Dope sheet / X-sheet. List frame counts, holds, and dialogue sync.
- Timing charts. Indicate where in-betweens sit between keys; great for spacing intent.
- Graph editor & dope sheet (3D). Retime keys in the dope sheet; sculpt ease and overlap in the graph editor.
- Playblasts & A/B tests. Export short previews, test two or three timing variants, and compare quickly.
- Audio markers. Place markers at beats to align anticipations and impacts.
Why Audio Drives Better Timing
Audio provides a stable grid for decisions. Land major contacts on downbeats, place anticipations a few frames before, and let the notes breathe across off-beats to avoid robotic motion.
Dialogue also needs micro-pauses for thoughts, blinks, and breath. Timing against a clear sound structure produces organic flow and reduces guesswork during polish.
What Shapes Perceived Weight and Force
Weight is a timing problem first, and a spacing problem second. Heavier objects accelerate more slowly and settle longer, while light objects snap to stops with shorter settles.
Anticipation should scale with force: big wind-ups for heavy lifts; minimal prep for nimble moves. Follow-through and overlap communicate inertia in hair, cloth, props, and appendages. When spacing grows tighter near extremes and wider mid-arc, the audience immediately understands how weight behaves.
How to Use Spacing Charts and Arcs
Charts and arcs make spacing choices visible and repeatable. Start with a clear path of action, then place spacing ticks to encode intent.
Draw the motion path and mark ticks: dense ticks near starts and ends for ease-in/out; wider gaps in the middle for speed. Bias your breakdown toward a leading joint (e.g., elbow before wrist) to add drag and flow. Keep arcs clean sloppy paths are the fastest route to “floaty” or “teleporty” motion.
What Frame Budgets Work Best
Use the ranges below as starting points, not laws. Always test, watch, and adjust based on shot scale, style, and audio.
- Blink: 8–12 frames, often with an implied hold.
- Head turn: 10–16 frames, depending on range and attitude.
- Impact: often lands within 2–4 frames; let the settle carry the feel.
- Settle: 10–20+ frames for heavy objects or emotional holds.
Start by trying these ranges in a simple walk cycle animation, note what reads on first watch, and adjust the counts to fit your scene
How to Build a Shot: A Practical Workflow
A repeatable workflow keeps timing decisions organized. Move from clarity to nuance in predictable steps and you’ll spend less time fighting curves.
- Block key poses in steps. Make the story clear in still images first.
- Assign timing per beat. Count frames between keys and add holds for readability.
- Preview on 2s. Focus on silhouettes and intent while spacing stays simple.
- Spline and refine. Transition to curves, clean tangents, and sculpt ease.
- Polish arcs and contacts. Track motion paths, fix foot slips, and add overlap.
- Final pass. Compare to the reference, check eye lines, and ensure sound sync.
How to Balance Timing in 2D and 3D Approaches
Different pipelines, same foundation. Plan timing the same way; then adapt tools to the medium.
- 2D animation: Leans on exposure sheets and crisp timing on 2s for economy; clarity comes from strong posing and holds.
- 3D animation: Uses blocking in steps for readability, retiming in the dope sheet, spacing finesse in the graph editor, and overlap via constraints or simulations.
How to Avoid Common Timing Mistakes
Most timing issues come from evenness and hurry. Push variety and lock audio early to sidestep late fixes.
- Even spacing everywhere. Push ease-in/out and vary spacing density.
- No holds on story poses. Add 4–8 frame holds before and after actions.
- Same timing for heavy and light. Retime acceleration and settle to match mass.
- Ignoring audio until late. Add beat markers before you spline.
- Camera motion masking action. Block camera early; don’t let pans erase beats.
How to Document and Reuse Timing Wins
Treat timing knowledge as reusable assets. Saving and naming your solutions speeds up every future shot.
Save curve presets and naming conventions, snapshot graph shapes before major revisions, and organize reference clips by topic (blinks, reaches, runs, dialogue). Build a personal checklist for blocking, spacing, polishing, and delivery; refine it after every project.
FAQs
What is timing and motion animation?
Timing is how long actions take. Motion is how things move between their paths, spacing, and easing. Together, they make movement clear, believable, and appealing.
How do I improve timing quickly?
Use video reference, set audio markers, block on 2s, and test two or three timing variants before polishing spacing. If you need hands-on guidance, the team at Animatedvideos.co can review shots, recommend frame budgets, and help your editors or animators establish repeatable timing workflows.
Why does spacing change how motion feels?
Spacing regulates distance per frame. Even spacing looks floaty; varied spacing adds life. Tight spacing near extremes and wide spacing mid-arc create convincing ease-in/out and inertia. Adjust spacing to communicate weight, intent, and material properties.
Which frame rate should I choose?
Use 24 fps for a filmic feel and 30 fps for mixed media or screen-first deliverables. Match distribution standards, your audio bed, and the look stakeholders expect. Consistency matters more than switching mid-project.
When do I animate on ones vs. twos?
Use ones for fast, precise actions, flickers, and lip detail. Use twos to maintain readability for broader moves during blocking or for stylized looks. Many shots blend both based on scale, speed, and clarity.
What exercises teach timing best?
Three staples: bouncing ball sets (light, medium, heavy), blink with head turn, and anticipation-impact-settle drills. These build intuition for frame budgets, spacing distributions, and holds. Compare versions side by side for faster learning.
How does timing apply to Motion graphics?
It governs reveal cadence, hierarchy, and brand feel. Headlines should enter on strong beats; supporting elements should trail with staggered offsets. Easing curves should reflect brand personality, while arcs and overlap prevent sterile transitions.
How does timing differ in 2D vs. 3D?
2D leans on exposure control, drawing economy, and clear holds; 3D leans on blocking in stepped, retiming in the dope sheet, and shaping tangents in the graph editor. The underlying timing animation principle is identical in both.
Where can I get professional timing help?
Look for a studio that reviews shots, sets clear frame ranges, and builds simple, repeatable workflows for your team. At Animatedvideos.co, we audit your pipeline, give practical notes, and coach your artists so timing gets sharper and stays consistent on every project.
Conclusion
Great timing turns competent shots into compelling experiences. It clarifies intent, sells weight, and elevates brand impact. You now have a practical blueprint: plan beats, set frame budgets, mark audio, block on 2s, and refine spacing with clean arcs and overlap.
If you want an expert partner to accelerate results, choose Animatedvideos.co. We align timing choices with your story, your brand voice, and your production realities. From character pieces to Motion graphics explainers, from 2D animation to 3D animation and broader Video Animation campaigns, we help teams move faster, communicate more clearly, and ship with confidence. Let’s map your beats, shape the spacing, and craft motion that people feel and remember.


