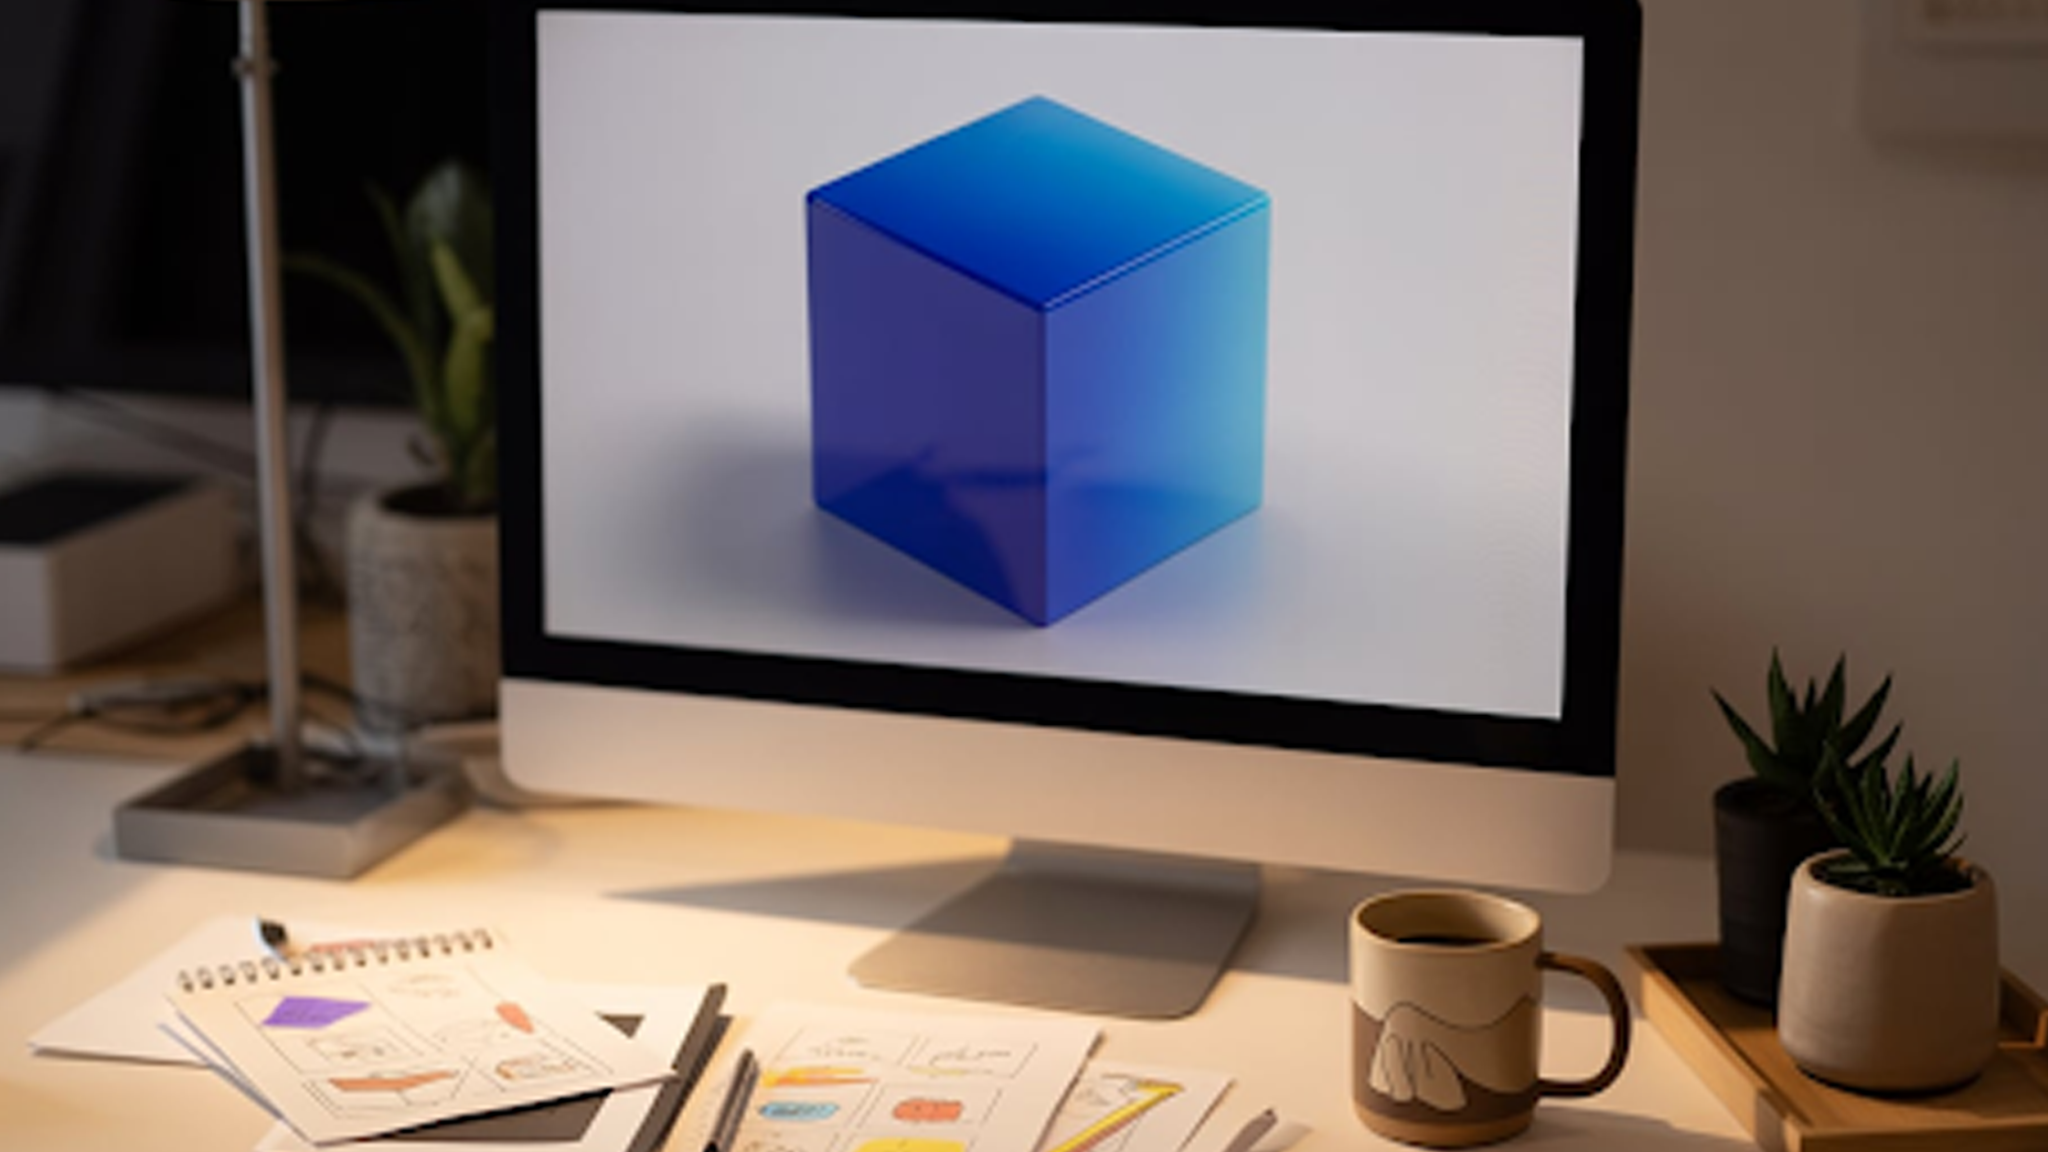
3D rendering shapes how digital worlds come alive. It decides whether a model looks flat or cinematic, whether a trailer feels polished or amateur. Rendering turns raw geometry into visuals you can use for film, games, and advertising.
This guide gives you the essentials. You will see how rendering fits into real projects, what tools and methods matter, where beginners go wrong, and how to practice with purpose. The aim is simple: to help you learn rendering in a way that sticks. By the end, you will know what to focus on first and what can wait until later.
What Is 3D Rendering
3D rendering is the process of converting a 3D scene into a final visual. A 3D model, its materials, lights, and a camera combine in a renderer. The renderer calculates how light interacts with materials.
The output can be a still frame or an animation sequence. 3D renderings vary from photoreal to stylized. You control style with shaders, light, and compositing.
Renderers differ. Some use rasterization to draw pixels fast for real-time needs. Some use ray tracing to trace light paths for realism. Some mix methods for speed and quality. 3D model rendering refers to the rendering of a single object or a small scene. The basic idea stays the same across scopes.
At AnimatedVideos.co, this process is at the heart of what we do. We build renders that work for trailers, product launches, and brand campaigns. Whether you need a stylized sequence or a photoreal product shot, our team handles the pipeline from model to final frame. That means less stress for you and visuals that feel ready for the spotlight.
How Rendering Works In Plain Steps
Geometry loads into memory. Vertices define shape. Materials tell the renderer how a surface behaves. Lights illuminate the scene. The camera frames what the viewer sees. The renderer evaluates light and material interactions. It samples pixels.
Artists sometimes use rotoscope animation, tracing live-action frames, to guide timing, create masks, or blend hand-drawn motion with 3D elements. Rotoscoped plates also serve as reference for lighting and compositing.
It applies post-process effects like color correction and denoising. The final frames export as sequences or video.
Breaking the pipeline down this way keeps the work manageable. Treat each step as a small project. Fix one thing at a time.
Which Rendering Methods Matter For Beginners
Rasterization renders polygons quickly. It serves games and viewport previews. Ray tracing traces paths of light for reflections, refractions, and accurate shadows.
Path tracing is a form of ray tracing that samples many light paths to converge on realism. Studios like Pixar animation rely on advanced path tracing methods to achieve their cinematic look. Real-time engines like Unreal and Unity merge fast rasterization with hardware accelerated ray tracing options.
For most beginners, start with rasterization for viewport work and a simple path tracer for final stills. That combo teaches both speed and accuracy.
How To Set Up Your First Render: Step By Step
- Start small. Make a simple scene, one object, one light, one camera.
- Use real-world scale. Set units and stick to them. Body rigs and light falloff behave predictably with correct scale.
- Choose a camera focal length that suits the shot. Avoid extreme values unless stylistic.
- Add a simple material. Keep roughness and specular values conservative.
- Light the scene with one key light and one fill. Test exposure and balance.
- Render at low resolution first. Check for noise and clipping.
- Increase samples slowly until noise falls within acceptable range.
- Export render passes: beauty, diffuse, specular, depth, and normals. Compositing gives flexibility.
- Run a final render at target resolution. Verify motion blur and temporal stability for animations.
This flow saves time and teaches control. Preview often. Adjust small things early.
Key Render Settings That Change Everything
Samples control noise. Low samples are noisy. High samples cost time. Use denoising to lower samples without major quality loss. Resolution multiplies render time. Doubling resolution quadruples pixel count. Render passes split complexity. Turn on motion blur only when needed. Use clamp or sample clamping with care to control fireflies.
Lighting quality depends on light types and shadows. Area lights create soft shadows. Point lights are sharp and cheap. Environment lighting offers broad illumination for product renders and game trailers. Balance is the goal.
Common Beginner Mistakes And Fast Fixes
Beginners face a handful of common rendering problems, but each one has a simple fix.
| Mistake | Fix |
| Render looks grainy | Increase samples or use a denoiser. Adjust light intensity and avoid tiny bright sources that cause fireflies. |
| Renders take too long | Lower resolution for previews, switch to GPU rendering if possible, bake textures, or reduce samples while raising denoiser strength. |
| Colors look flat | Add a rim or backlight. Apply subtle color grading in compositing. |
| Scale feels off | Set scene units correctly and match real-world camera focal length. Use reference photos. |
| Flicker across frames | Use consistent sampling patterns and apply temporal denoising or higher samples for animation. |
Veteran lighting artists say good lighting solves at least half of perceived quality problems.
Common Myths And Clearer Alternatives
Many beginners carry false beliefs about rendering, but the truth is simpler than it seems.
| Myth | Reality |
| You need expensive hardware to start | A modest GPU and smart settings let you learn fast. |
| Photoreal equals better | Style often matters more. A clean stylized render beats a muddy photoreal attempt. |
| More samples is always better | Better sampling patterns and denoising often outperform high sample counts. |
Challenge assumptions like these early. Small wins matter.
FAQs
What Tools Are Best For Learning 3D Rendering?
Free tools like Blender are ideal for beginners, offering modeling, lighting, and rendering in one package. Paid options such as Maya or Cinema 4D provide industry-level pipelines. Starting simple builds strong fundamentals.
Why Is 3D Rendering Important In Animation?
3D rendering transforms raw models into finished visuals with lighting, shadows, and textures. It gives scenes depth, realism, or style depending on creative direction. Without rendering, animation never reaches its full impact.
Which Rendering Method Works Best For Beginners?
Rasterization is useful for quick previews, while ray tracing creates realism with reflections and shadows. Many artists use both, depending on project needs. The balance teaches speed and accuracy.
Where Is 3D Rendering Commonly Used Beyond Games?
3D rendering supports architecture, product marketing, education, and advertising. Brands use it to showcase designs before production, create walkthroughs, or market products. Its reach extends far beyond entertainment.
How Can Renders Look More Polished And Professional?
Professional results come from accurate scale, strong lighting setups, and well-built textures. Adding subtle grading in post-production enhances mood. Refining these basics leads to consistent quality.
What Practices Save Time During Rendering?
Time can be saved by testing low-resolution previews, optimizing scenes, and using denoisers. Baking indirect lighting and rendering in passes also reduce strain. Efficient planning makes workflows smoother.
Why Choose AnimatedVideos.co For Rendering Projects?
AnimatedVideos.co manages everything from modeling to final frames, delivering trailers, ads, and branded visuals. The team balances creativity with technical control, producing work that connects with audiences. Collaboration stays clear and results stay reliable.
What Learning Approach Builds Skills Faster?
Combining structured tutorials with small projects is the fastest way to grow. Tutorials teach technique, while projects apply it in real scenarios. This mix builds a stronger and more practical portfolio.
How Does AnimatedVideos.co Make Visuals Stand Out?
AnimatedVideos.co uses tailored rendering styles to match brand identity and storytelling goals. The studio creates cinematic sequences that feel market-ready. The focus stays on visuals that attract attention and build trust.
Final Notes:
Rendering rewards patience and iteration. Small, consistent practice beats long sporadic sessions. Test one new setting per render. Measure change. Keep a log of what worked and what failed. Share your breakdown. That habit sharpens judgment quickly.
Action: Create a single object scene, light it with two lights, and render three passes. Export the beauty pass and one AOV. Composite them in a basic editor. Compare the result to your first render. Repeat until the light feels intentional.
You now have a clear path to learn 3D rendering. Start simple, practice often, and keep each render purposeful.


